How To Get Better Results From Any Exercise
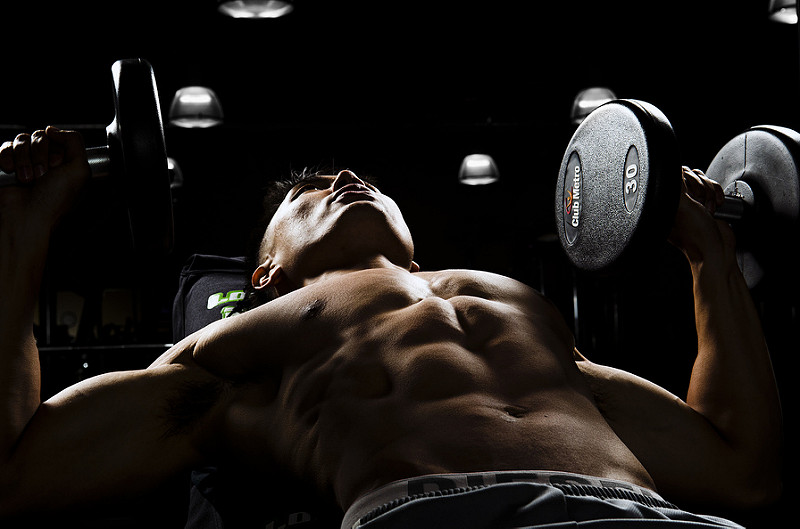
Here is a simple concept you can use to dramatically improve your fitness results starting today. Barbell Bench Press < Dumbbell Bench Press & Barbell Bench Press together (i.e. in the same workout and/or program) In other words, you’ll get better results from bench pressing with both barbells and dumbbells than you will from just […]
How To Get Better Results From Any Exercise Read More »