How to Work Up to the Full Bridge Exercise Gradually and Safely (Even if You’re Not a Flexible Yoga Gal)
The bridge exercise is useful for building strength and flexibility of the back and spine, among many other things. Unfortunately, most people have a really hard time getting into the proper bridge position (i.e. the full bridge, AKA “wheel pose”), let alone being able to relax once they get there. This tutorial will teach you how to do it, even if you’re as stiff as a board.
In the video below, I’ve provided a simple step-by-step progression that anyone can use to work up to the full bridge exercise. Even if you’ve done bridges before, you’ll likely find benefits from working through the individual components in this video.
You see, most people get the best results when they break the exercise down into simpler components and master each of those first. If you lay the necessary groundwork, in time, the bridge becomes quite manageable – even effortless. And it doesn’t require years of diligent yoga practice.
5 Beginner Level Bridge Exercises
Note: preparatory mobility exercise instruction begins at 0:55. Exercise instruction starts at 3:10. Floor exercises (i.e. without the exercise ball) starts at 6:08.
Bridge Exercise Progressions
Okay. So, apparently, I can’t count! Because there are more than 5 exercises in that video. I must have been thinking five exercise “families.” But here are all of the exercises with a brief description of each.
Rolling Bridge prep with an exercise ball – With feet planted on the ground at hip or shoulder width apart, and back reclining on the ball, roll backwards with your arms completely relaxed and extended overhead, allowing your spine to arch and round around the ball, until you reach full hip extension, legs straight – head and neck completely relaxed.
Assisted Bridge Press with an exercise ball for support – From the position assumed in the exercise above, anchor your hands and feet on the floor as close to the ball as is comfortable. Exhale and press both hands and feet into the ground – palms flat, elbows in tight toward your sides, and with a mid-foot balance – until your back begins to lift off of the ball.
Shoulder Bridge – Laying flat on your back with knees bent, feet flat on the floor, retract your shoulder blades, pinching them together and press your feet into the ground to lift your hips off the ground. Exhale and squeeze your glutes to lift your hips higher. Inhale and expand your ribcage up over your chest.
Table – From a seated position with legs straight in front of you, press your palms into the ground at your sides, roll up onto your feet with knees bent at a 90 degree angle, and press your hips upward until your torso and thighs forms a “table” position. Relax your head and neck and keep pressing through your palms with shoulders packed and elbows locked. Drive your hips higher using leg drive with a mid-foot balance.
Upside-down Plank – Assume the table pose from above, but extend legs out in front of you – knees locked and toes pointed.
Tripod Extension – From a deep squat position, twist with your upper spine and reach around behind you with one arm, planting it on the floor, as close to your center-line as is comfortable. Press through both planted feet and your palm – with elbow locked and shoulder packed – until your hips extend fully in one line. Reach the opposite arm directly above you with two shoulders in one line. Exhale to lift your hips higher, inhale to reach your arm further.
Tripod Reach – From the same position in the exercise above, reach the raised arm up over your head, eyes gazing behind you. Exhale to lift your hips higher, inhale to reach your arm further.
Bridge with head for support – Laying flat on your back with knees bent, feet flat on the floor, raise your arms overhead and plant your hands on the floor just above your shoulders. Press through your palms and feet to raise your hips off the floor and keep pressing until you can place some of your weight on the top of your head (very gently!). Most of your weight should be supported by your arms and legs.
Full Bridge (aka Wheel Pose) – Laying flat on your back with knees bent, feet flat on the floor – and heels as close to your bum as possible – raise your arms overhead and plant your hands on the floor just above your shoulders. Press through your palms and feet to raise your hips off the floor and keep pressing until your hips are fully extended, and spine is rounded. Relax your head and neck. Contract your glutes. Keep your elbows in tight toward your sides and squeeze your knees together. Exhale and lift your hips higher. Inhale deeply into your belly and let your ribcage open up.

Bridge Exercise Tips
- Don’t force any range of motion.
- Relax your head and neck, allowing yourself to smile slightly. And if you can’t relax, regress the exercise.
- If you feel any pain, anywhere, stop and regress the exercise until you no longer feel pain.
- Take your time with each step and progress gradually over several weeks, even months, if necessary.
- When in doubt, spend more time working on your mobility first.
Still having trouble with the bridge exercise?
If you suspect that it’s a strength issue (e.g. if you can get into position, but don’t last long) – Try practicing the following exercises:
- sphinx pose and/or the superman hold
- bird dogs
- hip thrusts
- incline pushups (as steep as you can – my preference for this particular goal is to perform your incline pushups by squatting down, placing hands on the floor directly in front of you, locking your knees – letting your head hang down – and performing an “overhead” pushup, much like a handstand pushup – just with your feet on the floor).
If you suspect that it’s a mobility issue (e.g. you can’t reach your arms overhead) – Focus on mobilizing your:
- hips
- shoulders
- spine (i.e. cervical, thoracic, and lumbar)
Note: click here for a free beginner-level mobility routine with some good exercises.
If you suspect that it’s a flexibility issue (e.g. your hips or core feels really tight; or your back muscles cramp up) – Try practicing the following yoga poses:
- cobra
- upward facing dog
- camel
- kneeling hip flexor stretch and/or pigeon
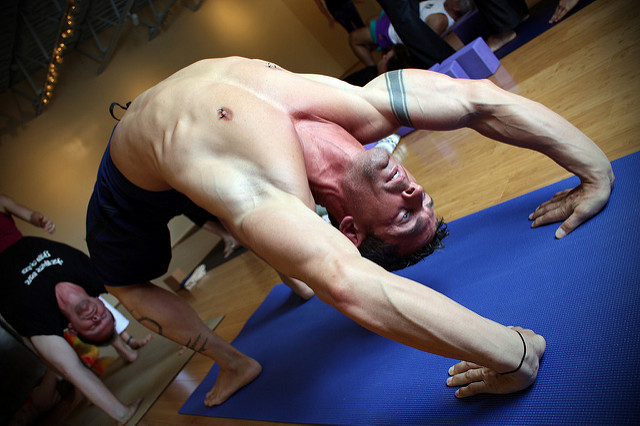
If you work diligently, you’ll soon master the full bridge pose. As a result, your back will be healthier, stronger, and more mobile. Plus, you’ll also be able to impress your friends and take cool pictures like this, which is obviously the REAL reason why everyone trains.*
*sarcasm

If you found this article helpful, please share it with your friends:
.jpg "John Sifferman")
![]()
Health-First Fitness Coach
P.S. If you liked this post, then please signup for the newsletter, or follow me on Facebook or Twitter for daily updates and other interesting info.
This is perhaps the best article on “Bridge” I have ever read.I am sure,I have many things from you.i am a male,64years of age,live in india.
I want to remain in constant touch with you.